Selling digital products on your WordPress website using WooCommerce can open up exciting opportunities for content creators, artists, and entrepreneurs.
With its user-friendly interface and robust features, the CMS platform makes it easy to set-up an online store and start monetizing your digital creations.
In this step-by-step guide, we’ll walk you through the process of selling digital products on WooCommerce.
Step 1: Install and Activate WooCommerce
If you haven’t already done so, set up a WordPress website. Choose a reliable hosting provider, install WordPress, and configure your website.
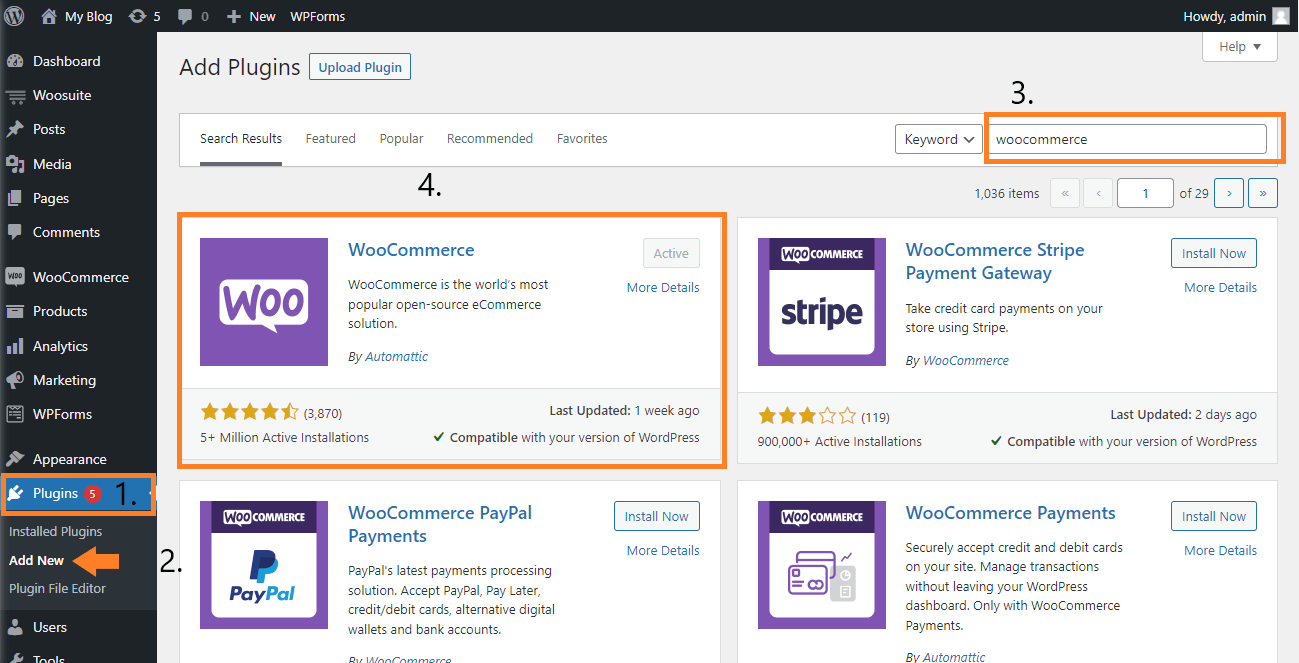
- Navigate to your WordPress dashboard, go to “Plugins” > “Add New.”
- Search for “WooCommerce” using the search bar.
- Click “Install Now” next to the WooCommerce plugin and then “Activate” to enable it on your website.
Step 2: Configure WooCommerce Settings
Once you activate WooCommerce, a setup wizard will guide you through the initial configuration. Follow the prompts to set up your store’s basic settings, including currency, shipping options, and payment gateways.
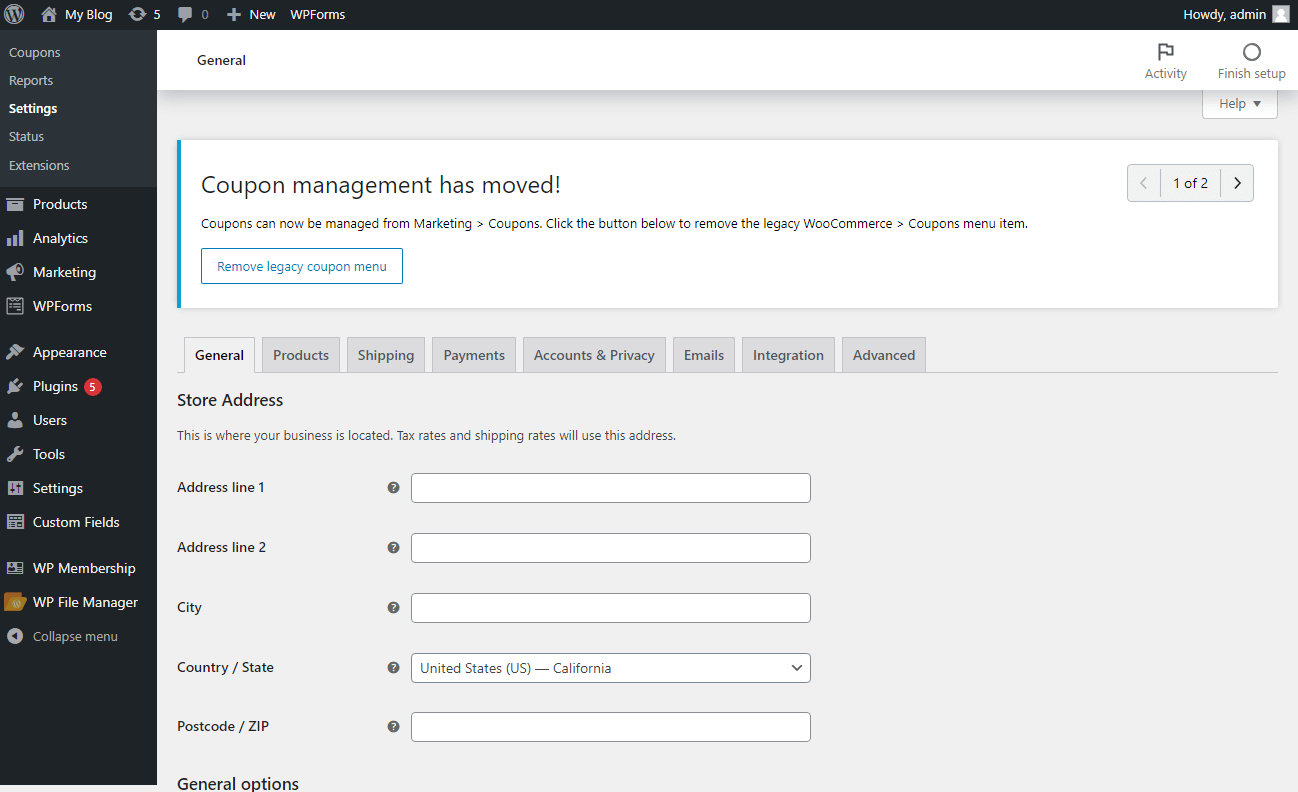
To access more customization options, go to “WooCommerce” > “Settings.” Here, you can fine-tune aspects like tax settings, shipping methods, and email notifications.
Step 3: Add a Digital Product
A list of few digital products that you can sell on WooCommerce:
- Apps or plugins
- Music files
- Graphics (like stock photography or illustrations)
- eBooks
- PDFs
- Online courses
- Memberships
- Content subscriptions
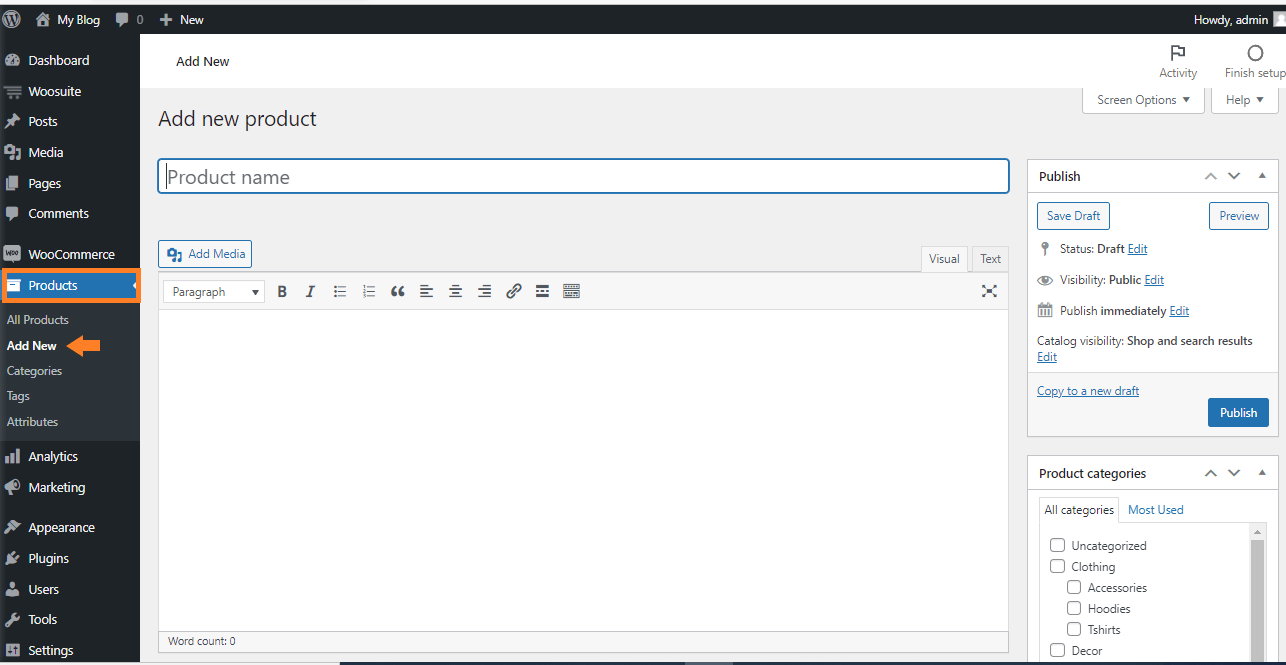
- From your WordPress dashboard, navigate to “Products” > “Add New.”
- Provide a product name and a compelling description to attract potential customers.
- In the “Product Data” section, select “Virtual” and “Downloadable” to indicate that it’s a digital product.
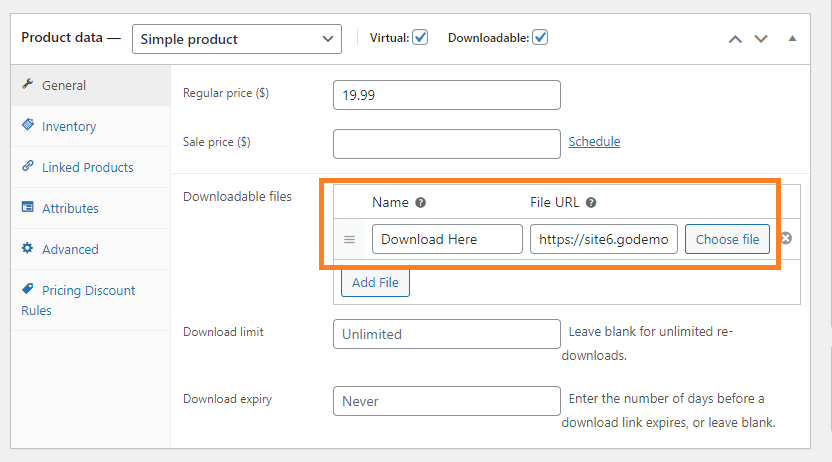
- Upload your digital files by clicking on “Choose file” under the “Downloadable Files” option. You can add multiple files if needed, like different file formats or versions.
- If you want to provide a discount on your digital product you can enter the sale price in the Sale Price ($) field.
Set download limits and expiration dates if required. For example, you might want to limit the number of downloads or set an expiration date for the download link.
- Set the product price and any applicable taxes.
- Add eye-catching product images to showcase your digital product effectively.
- Click on “Publish” to make your digital product live on your website.
Step 4: Set Up Payment Gateway
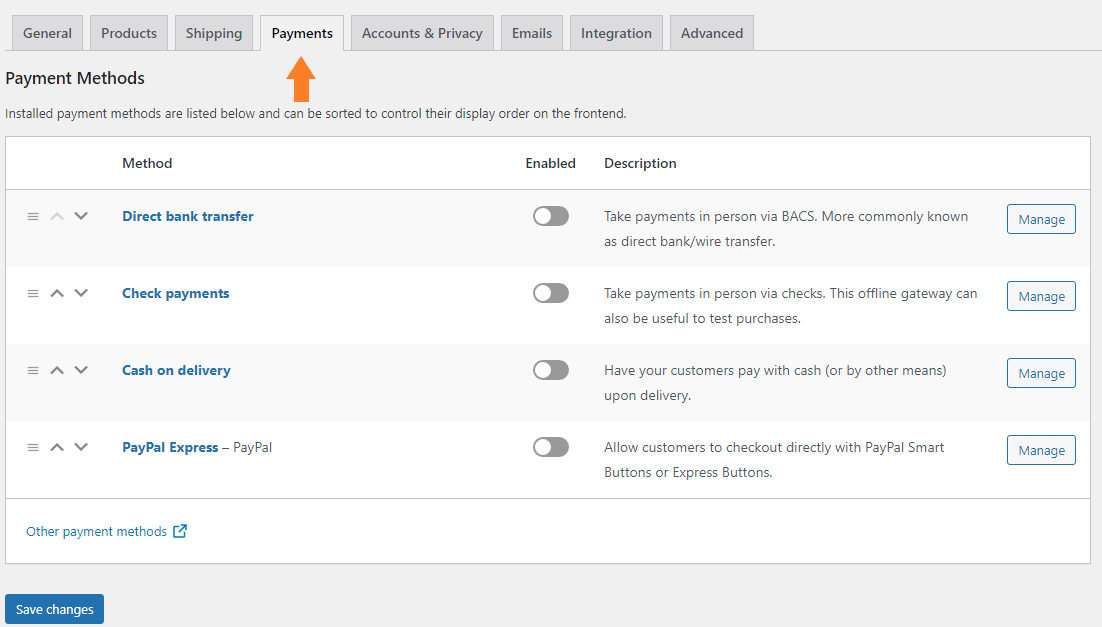
To accept payments for your digital products, go to “WooCommerce” > “Settings” and click on the “Payments” tab.
Choose the payment gateways you want to offer to your customers. Popular options include PayPal, Stripe, and credit/debit cards.
Configure the payment gateway settings, such as linking your accounts or providing necessary credentials.
Step 5: Customize the Checkout Process
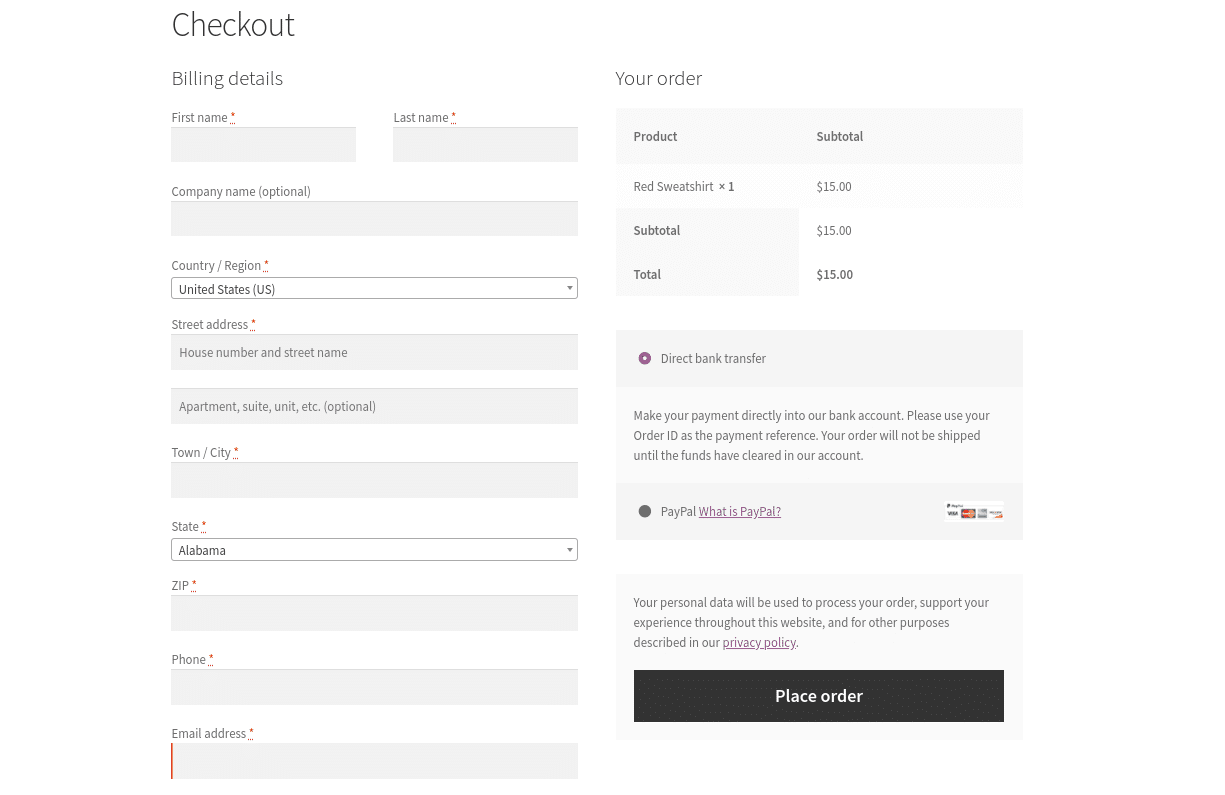
A smooth and seamless checkout process enhances the overall user experience. Go to “WooCommerce” > “Settings” and click on the “Checkout” tab.
Customize the checkout fields, shipping options, and payment methods according to your preferences.
Step 6: Test the Purchase Process
Before launching your store, test the entire purchase process to ensure everything works smoothly.
Place a test order using a different email address to check if customers receive the download link correctly.
Step 7: Promote Your Digital Products
Market your digital products through various channels, such as social media, email newsletters, and collaborations with influencers.
Offer discounts or limited-time promotions to attract customers to your store.
Step 8: Set-Up Discount Plugin
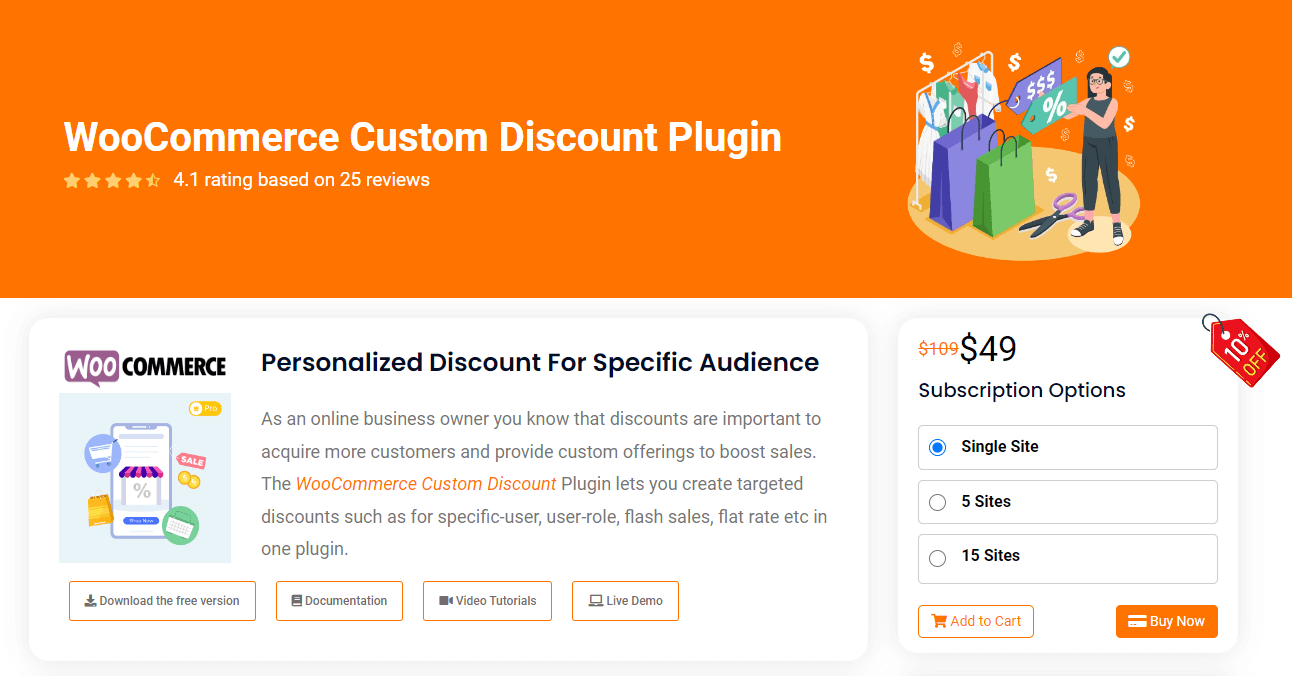
WooCommerce Custom Discount Plugin by BeePlugin to supercharge your discount strategies.
It let’s to create multiple discounts rules such as discounts for specific users, specific user roles, date-range discounts, percentage discounts, flat rate discounts et., in a single plugin.
Advanced Tip: Install WooCommerce Abandoned Cart Plugin
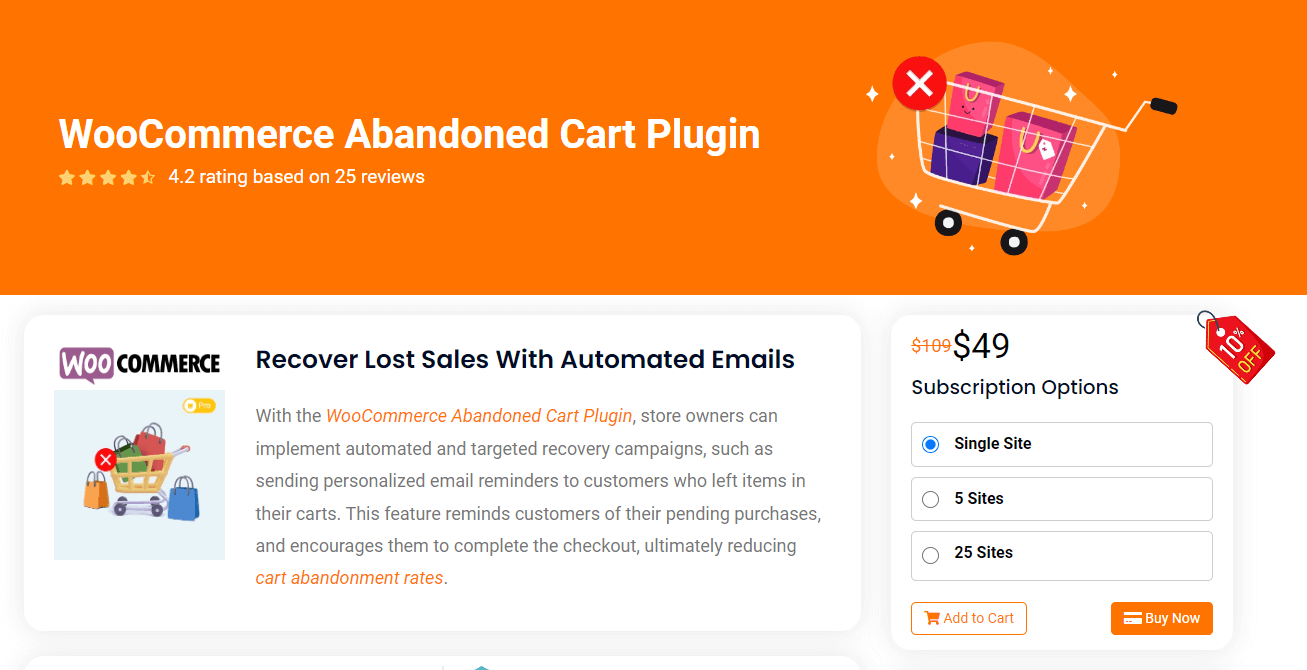
After launching your WooCommerce site you can install the WooCommerce Abandoned Cart Plugin by BeePlugin. It will enable you to capture lost sales by setting-up and sending customized emails to abandoned carts. Also, you can set-up exit popups, send automated emails, schedule follow-ups, customize email templates and do much more using just one plugin.
Conclusion:
With WooCommerce, selling digital products on your WordPress website has never been easier. By following this step-by-step guide, you can set up your online store, start selling your digital creations, and reach a global audience.
Continuously monitor your store’s performance, analyze customer feedback, and adapt your marketing strategies to maximize sales and grow your digital product business successfully. Happy selling!
Frequently Asked Questions
Q – What types of digital products can I sell on WooCommerce?
A – Virtually any digital file that can be downloaded can be sold on your WooCommerce store. For example: e-books, music, videos, software, plugins, themes, online courses, graphic designs, photography, and more.
Q – How do I ensure the security of my digital products to prevent unauthorized downloads?
A – To protect your digital products, you can use various methods, such as watermarking images, using DRM (Digital Rights Management) solutions, or password-protecting the download links.
Q – Can I offer free digital products on WooCommerce? If so, how?
A – Yes, you can offer free digital products on WooCommerce. Simply set the product price to $0 or use the “Free” option when adding the product.
Q – How do I manage customer access to their purchased digital downloads?
A – Once a customer purchases a digital product, WooCommerce automatically generates a unique download link for them.
Q – Are there any specific legal considerations when selling digital products on WooCommerce?
A – Ensure that you have the rights to sell the digital products you offer, and consider including terms-of-use and licensing agreements to protect your intellectual property and clarify customer rights.


 Article
 Infographic
 Plugin Development
 WordPress Development
 WooCommerce Development


Jay